The Complete Pimple Patch Guide: How to Use ClearDot
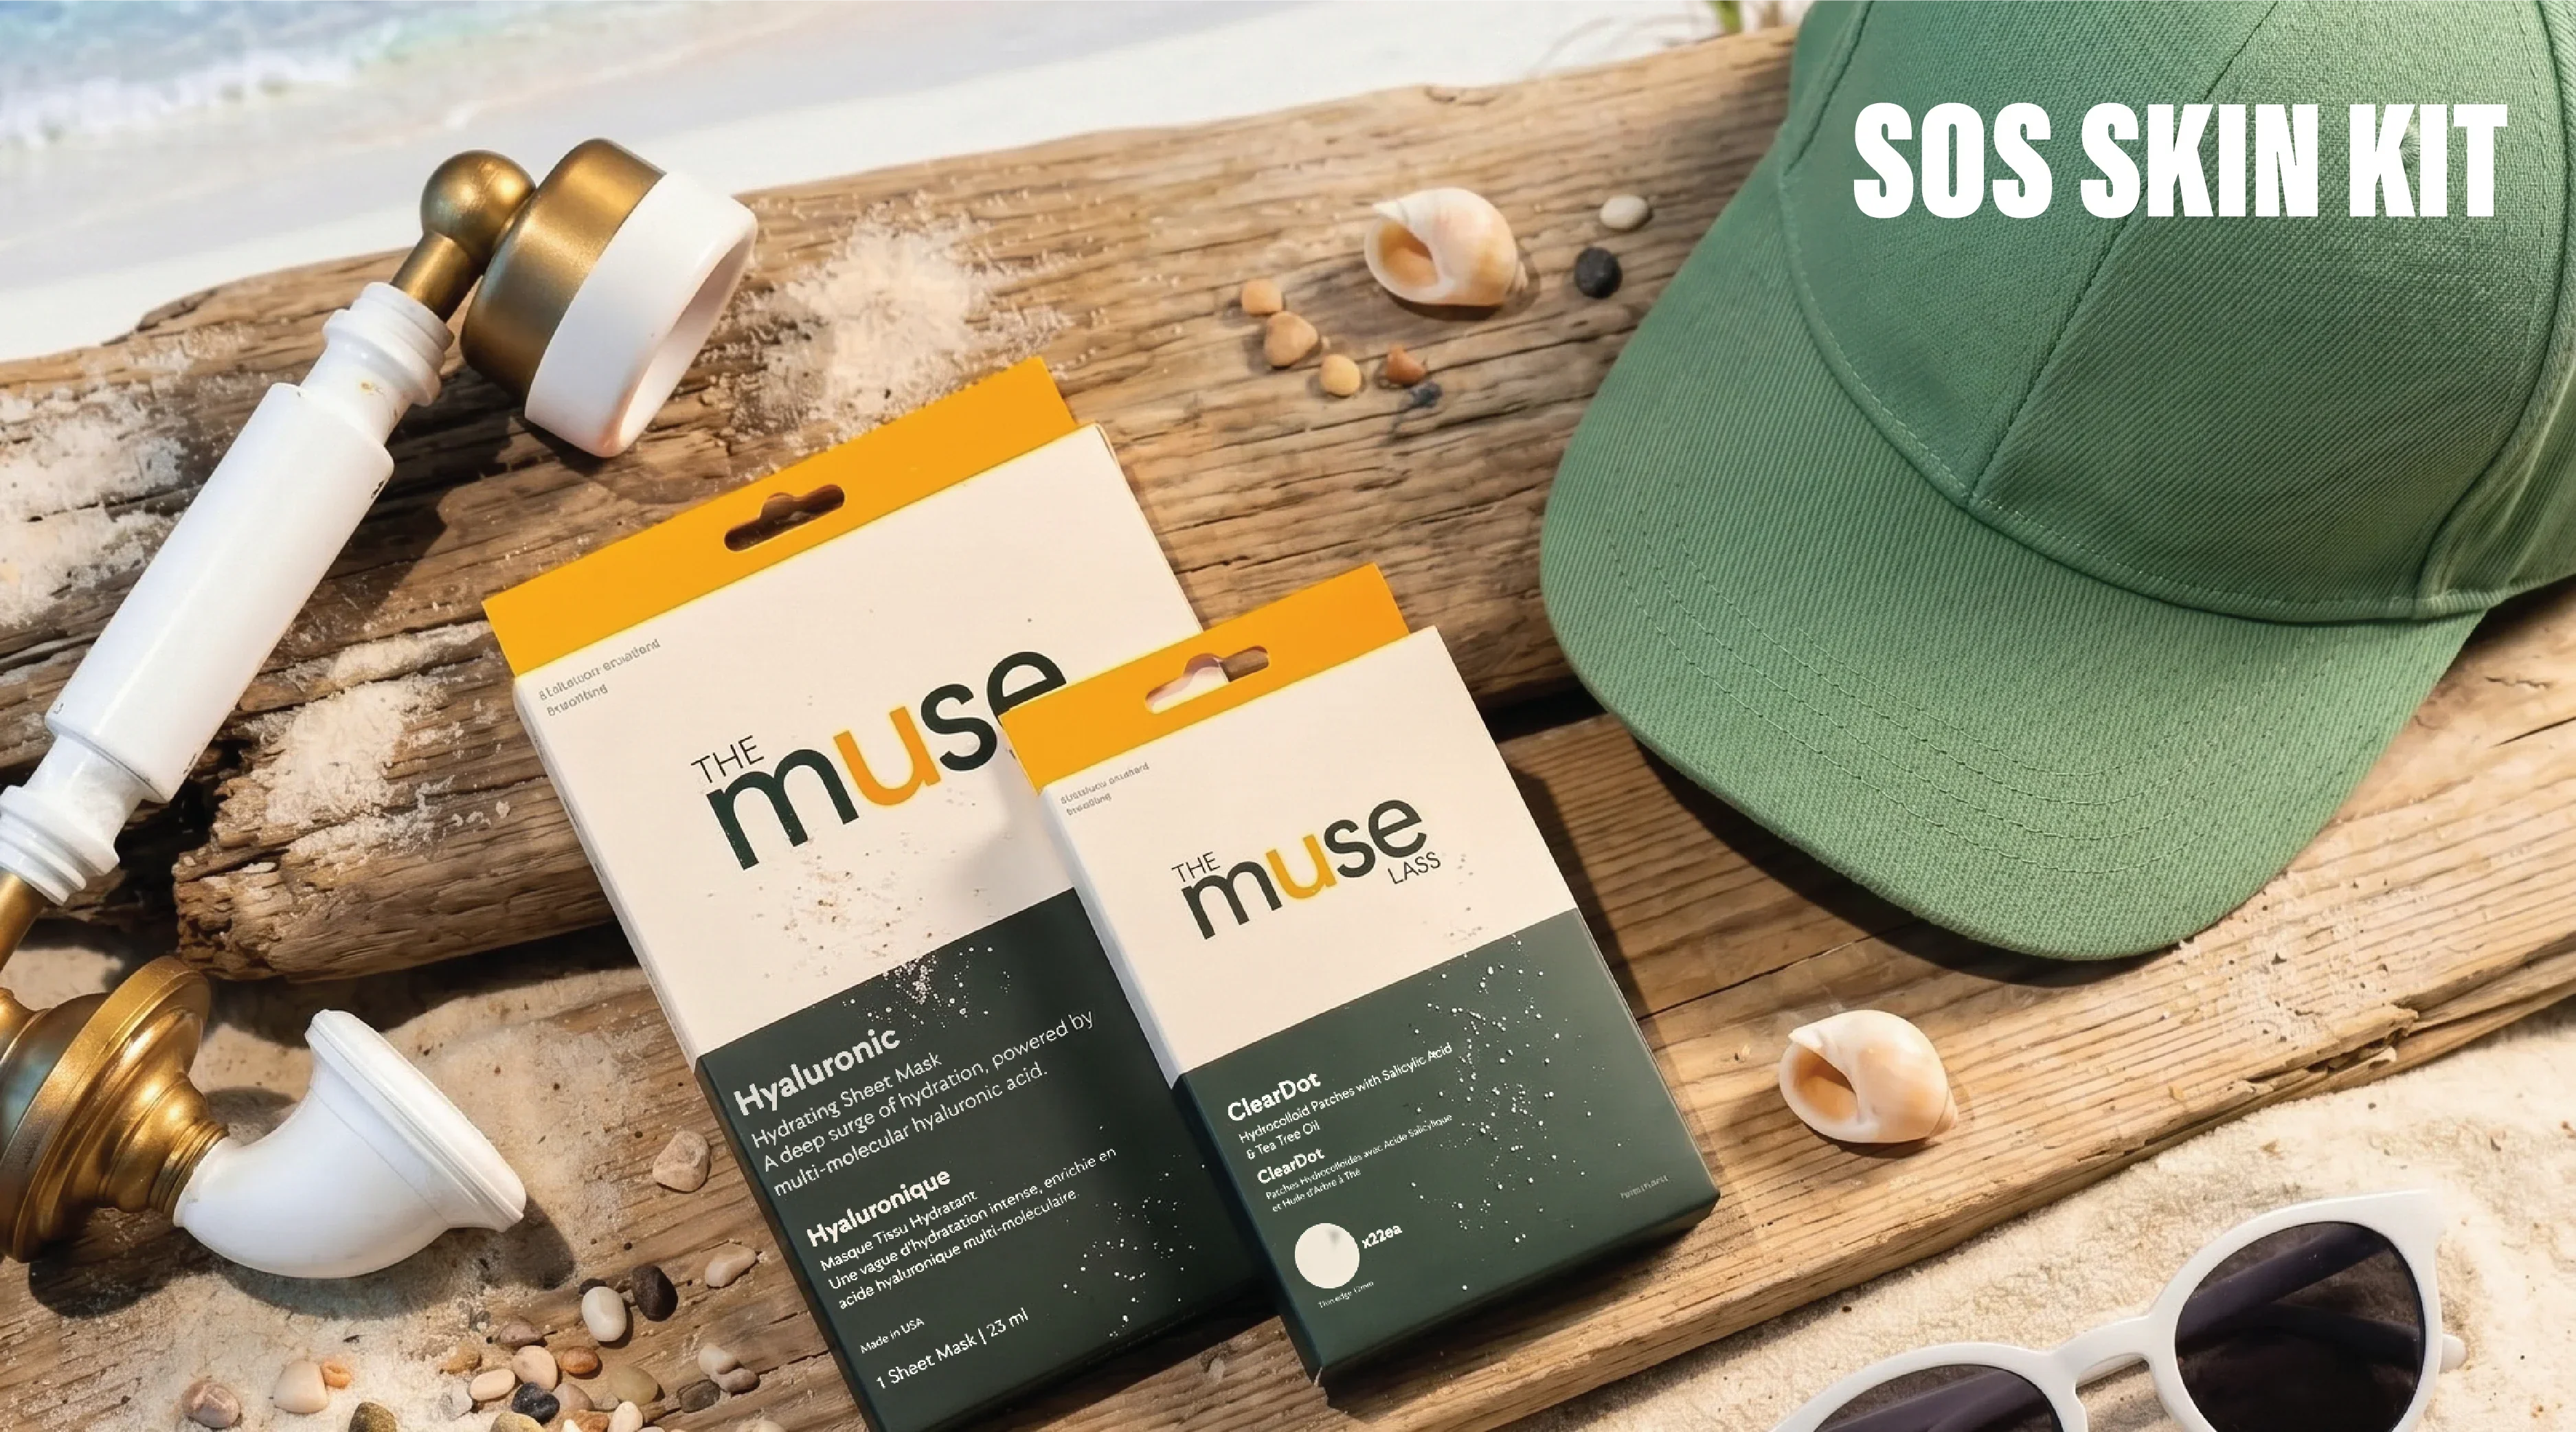
Waking up to an unexpected breakout can quickly derail your morning. You need a reliable solution that works fast without irritating your skin. Enter the ClearDot Pimple Patch by The Muse Labs, now available at SL Basics. This innovative acne spot treatment offers a simple, highly effective way to manage blemishes.
If you want to maximize your results, proper application matters. This comprehensive pimple patch guide will walk you through exactly how to use ClearDot to achieve the best possible outcome for your skin.
Why Choose ClearDot for Your Breakouts?
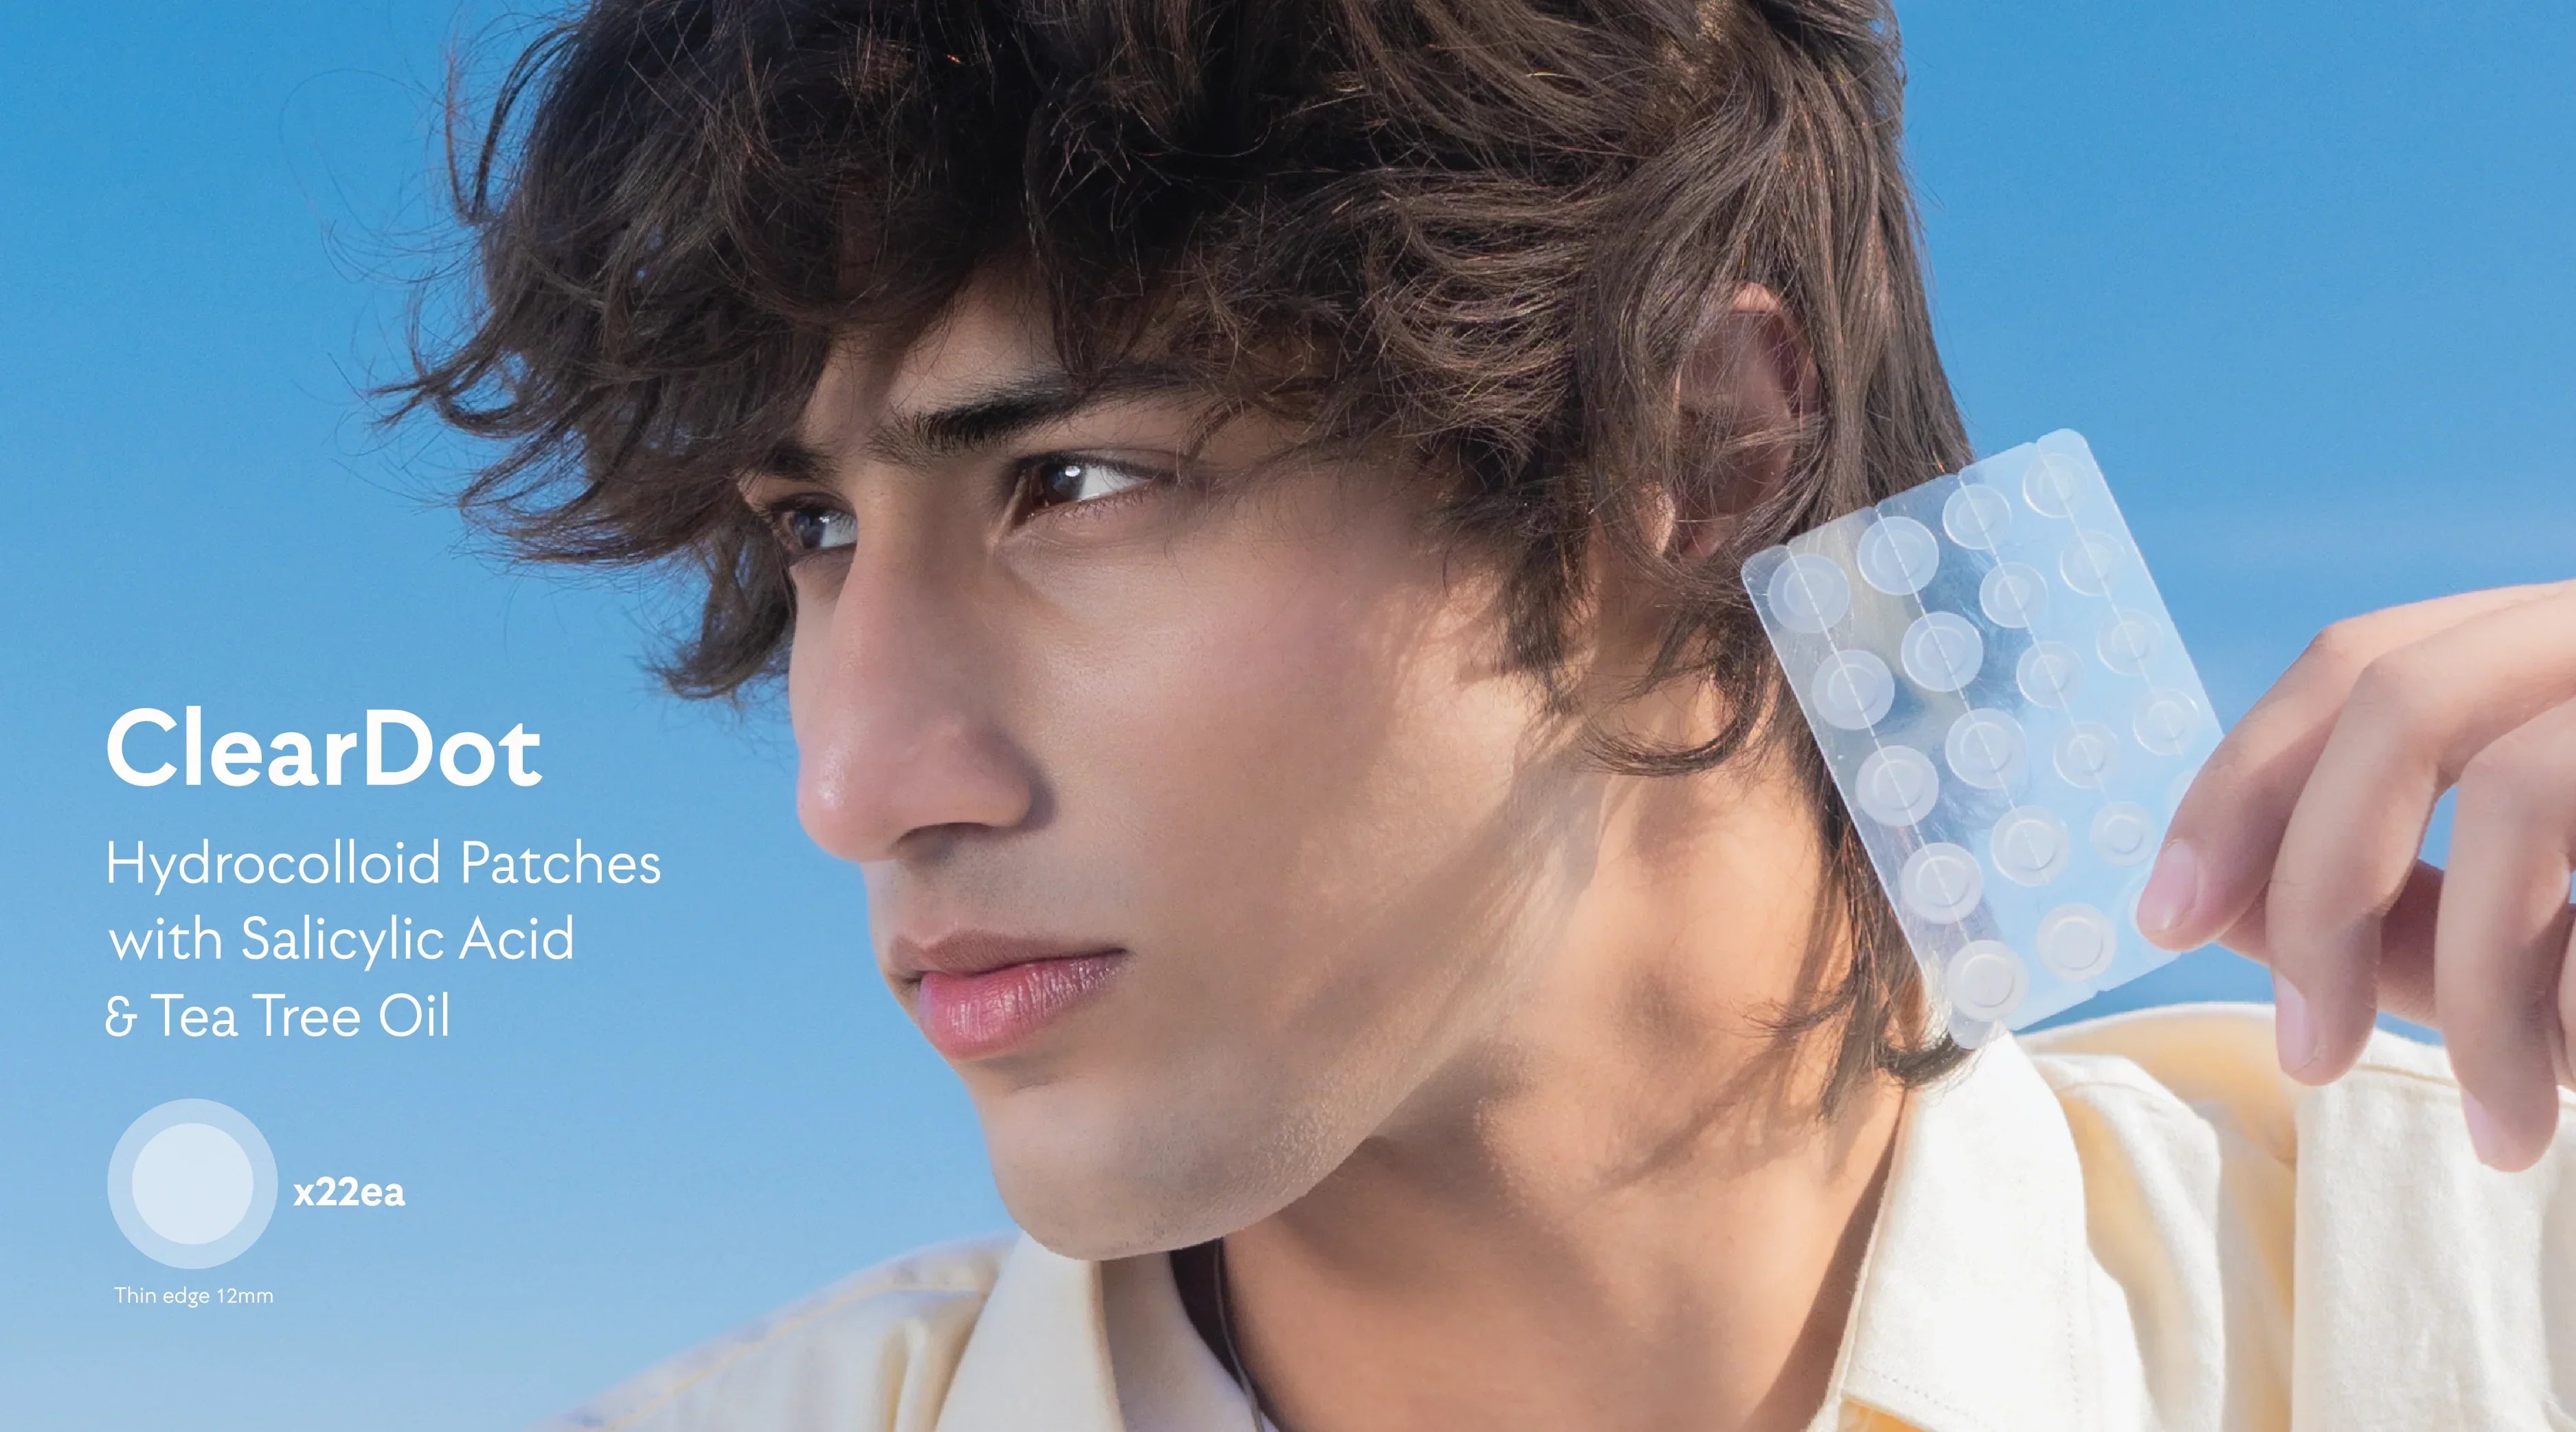
Before diving into the steps, it helps to understand why ClearDot stands out. These patches use advanced hydrocolloid technology to draw out fluids and absorb impurities directly from the blemish.
Beyond their absorbing power, ClearDot patches act as a protective barrier. They prevent outside bacteria from entering the open pore and, crucially, stop you from picking at the spot. Because they feature a highly discreet, transparent design, you can confidently wear them throughout the day or overnight.

Step 1: Prepare Your Canvas
The secret to a successful acne spot treatment always begins with a clean slate. Proper skin preparation ensures the patch adheres correctly and works without trapping dirt underneath.
Cleanse thoroughly: Wash your face using a gentle, water-based cleanser to remove excess oil, makeup, and surface debris. Avoid harsh scrubs that might aggravate the active breakout.
Skip the spot treatments: Do not apply serums, moisturizers, or liquid acne treatments directly over the blemish you intend to cover. The ClearDot patch needs a completely bare surface to grip the skin and absorb impurities effectively.
Dry completely: Pat your skin completely dry with a clean towel. Even a slight amount of moisture can prevent the hydrocolloid material from forming a secure seal.
Step 2: Perfect the Application
Learning how to use ClearDot properly ensures the patch stays invisible and gets right to work.
Select the right size: Examine your blemish and choose a patch that completely covers the spot with a little room to spare around the edges.
Peel with care: Gently remove the patch from its protective film. Try to hold it strictly by the edges to keep the center completely clean and free of oils from your fingers.
Place and press: Center the patch directly over the blemish. Press down gently but firmly for about three to five seconds. This slight pressure uses the natural warmth of your skin to activate the adhesive, ensuring a smooth, invisible finish.
Step 3: Let the Patch Do the Work
Once applied, the patch takes over. ClearDot works continuously to pull pus and fluids out of the pore.
Leave it alone: For the best results, keep the patch on for a minimum of six to eight hours. Many people prefer wearing them overnight, allowing the treatment to work uninterrupted while they sleep.
Watch for the white spot: You will know the patch is actively working when the transparent center begins to turn cloudy or white. This color change means the hydrocolloid material is successfully absorbing the impurities from your skin.
Bonus Tip: You can even wear makeup over the ClearDot patch! Its ultra-thin, transparent design ensures it stays invisible under foundation or concealer, allowing you to cover blemishes while treating them.
Step 4: Removal and Aftercare
Removing the patch correctly is just as vital as the application process.
Peel gently: When the patch turns opaque, or after eight hours have passed, it is time for removal. Gently peel the patch away from the edges. Never rip it off quickly, as this can damage the delicate healing skin underneath.
Assess the area: If the blemish still looks raised or active, you can wash your face and apply a fresh ClearDot patch. If the spot looks flat and healing, you can move on to your regular skincare routine.
Hydrate and protect: Finish your routine by applying a soothing moisturizer to help repair the skin barrier. If you are heading outside, always apply a high-quality sunscreen, like the SL Basics Sebco+, to prevent dark spots from forming where the blemish used to be.

Take Control of Your Skincare
Managing breakouts does not have to be frustrating. By following this pimple patch guide, you can quickly and effectively treat blemishes the moment they appear. ClearDot offers a discreet, powerful solution that supports your skin's natural healing process.
Keep a pack of ClearDot Pimple Patches in your bathroom cabinet so you are always prepared. Explore the full range of The Muse Labs skincare solutions at SL Basics and give your skin the targeted care it deserves.